 hotel lobby
What our published input photos show
These portraits were created for our internal demonstrations. Each contains one fictional adult, with a visible face, upper body and uncluttered background. They are not customer photos, and the same composition does not guarantee the same quality of result.
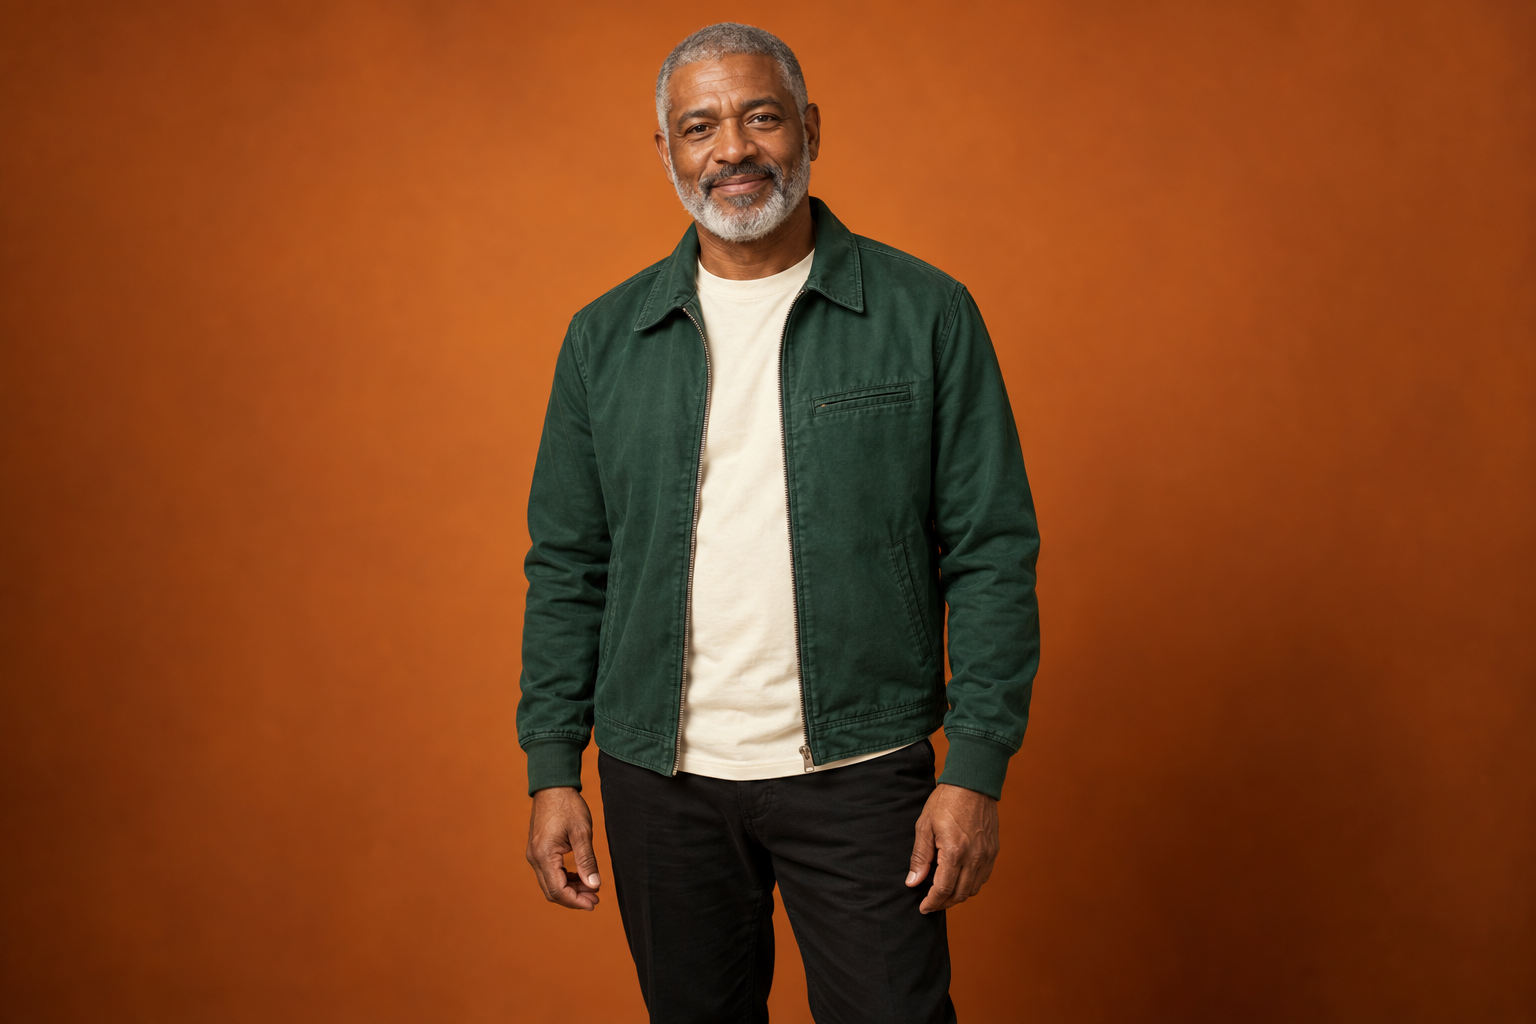

Check that the face is large enough to inspect, the image is sharp and important features are not covered. Avoid group photos, very tight face crops, heavy filters and large differences in lighting between inputs. Supported formats are JPG, PNG and WebP, up to 10 MB per photo.
The same portraits in opposite roles
In the original example, the green-jacket portrait is assigned left and the blue-blazer portrait right. In the second example, the inputs are reversed. Both use 15 seconds, 768P and landscape framing.
This lets you inspect role assignment with the same pair. It does not establish performance on every person, pose, pet or illustration. Check your thumbnails and use Swap photos in the studio if the intended order is wrong.
Why can the result look different from a portrait?
The output is a newly generated performance, not identical copies of your photo. As a subject turns, gestures or changes expression, appearance may vary. The input is a reference, not a guarantee of an exact likeness.
Compare the input with several moments in the full output. Inspect the face at the start, during a turn and near the end; check hair, clothing, hands and whether the roles stay distinct. A good cover image alone is not enough to judge a 15-second result.
Before another attempt
- If a face is hard to see, choose a sharper, evenly lit image.
- If several people appear in a photo, use an image with only the intended subject.
- If roles are reversed, check Photo 1 and Photo 2 before generating again.
- For different framing, choose Size in the studio. Published examples keep their original 16:9 framing.
- If a task is pending, keep the existing request until its outcome is confirmed.
A new request after a successful generation uses the displayed credit allowance. A confirmed failure returns credits for that request. See the workflow guide and pricing before trying again.
Ready to try your own pair?
Review the full examples, then choose your two photos. Creating a video requires purchased credits.
Create my video